Building my network infrastructure
In the last 2 months of 2016 we moved to a new house. Of course after the necessary paint work, building closets and making sure there was something on the floor the next best thing to fix was the network infrastructure.
When designing the construction plans, i already included additional pipes for network, solar-panels(future project) en 3 25mm pipes for antenna cabling. So when we finally got the basic stuff done, it was time for the network! fortunately i already bought al the necessary tools and materials earlier so i could begin right away.
If you are ever confronted with a new home and want to create some additional cabling, please note this :
Good tools and materials pay off!
To help everyone who faces the challenge of laying cabling in a house ( or office ) i made a small list of tools ( and where to order them in The Netherlands )
First of all, the basic tools :
- Side-cutting pliers : ( as sharp as possible. )
- Sharp knife : ( i used my Leatherman because it also includes a scissor. )
- Tension String : ( Trekveer ). I bought a special Tension String with an M5 connector on one end. This was needed to connect the next item.
- Cable Stocking : ( kabeltrekvlieter of Treksok/Trekkous ) this is an awesome tool! you can connect this to the tension string and it will function as an additional grip to the cable. No more stripping and taping cable. With this device cables will be more protected and easily pulled through the pipes.
- Coloured Tape : ( just your standard electronics tape with different colours will do ) i used tape to identify the cables room by room, which made it easier to bundle the cables per-room afterwards.
- A Pen : to write down a number on the tape to identify the exact cables.
Then, we needed the materials, i bought almost all of my materials at the netwerkwinkel.com which is a webshop hosted by a friend of mine.
- 12HE 19Inch wall mount rack : to host all the equipment and patch-bays.
- UTP Cat.6 UTP Keystones : Used to install the cables into the patch-bays. ( also used for the wall-outlets )
- 19Inch Rack mount patch-bay : For installation of the keystones in my patch rack.
- Cat.6 Cable : I used Cat.6 cable, because it was more than sufficient for use in my house. I did buy 2 boxes because i wanted every wall outlet to have 2 keystones. When you have to install 2 cables per-pipe please just buy 2 boxes of cable so you don’t have to be creative with cutting lengths of cable before inserting them in the piping.
In the living-room, bedrooms and shack there were already some wall-sockets for electricity. I asked my contractor the exact make and model of materials used. In my case they used Busch-Jaeger Balance Si. After asking this, i immediately bought the materials at elektrototaalmarkt. If you need anything related to electrical installation, they either have it of they can get it for you. Great service!
Please note, if you are buying installation materials, please check the exact description of the materials. When buying the Busch-Jaeger materials i had to order 3 separate kits to make up 1 complete wall-mount set. ( front-plate, installation frame and back plate. )
For the meter cupboard i did not need fancy looking outlets, therefor i just bought standard materials.
- Installation materials for wall mounting : Please note, this material is used for installation inside walls. Since i want to have my outlets ON the walls, i also bought the frames below.
- Installation frame : This makes the wall mount frame compatible with on wall construction.
When everything arrived i invited a friend over and started with pulling the cables in every empty pipe in the house. After a nice afternoon with a lot of fun and craftsmanship, all the cable was installed. It took me another evening to attach all the keystones to both ends of the cables. In total it took me about 2 days to install 36 cables with keystones, wall-mounts and patch-bays.
Unfortunately there was one pipe which was faulty installed by our contractor. Fortunately i could continue on the other cables. the next week the contracter came by and helped me install the last 2 cables.
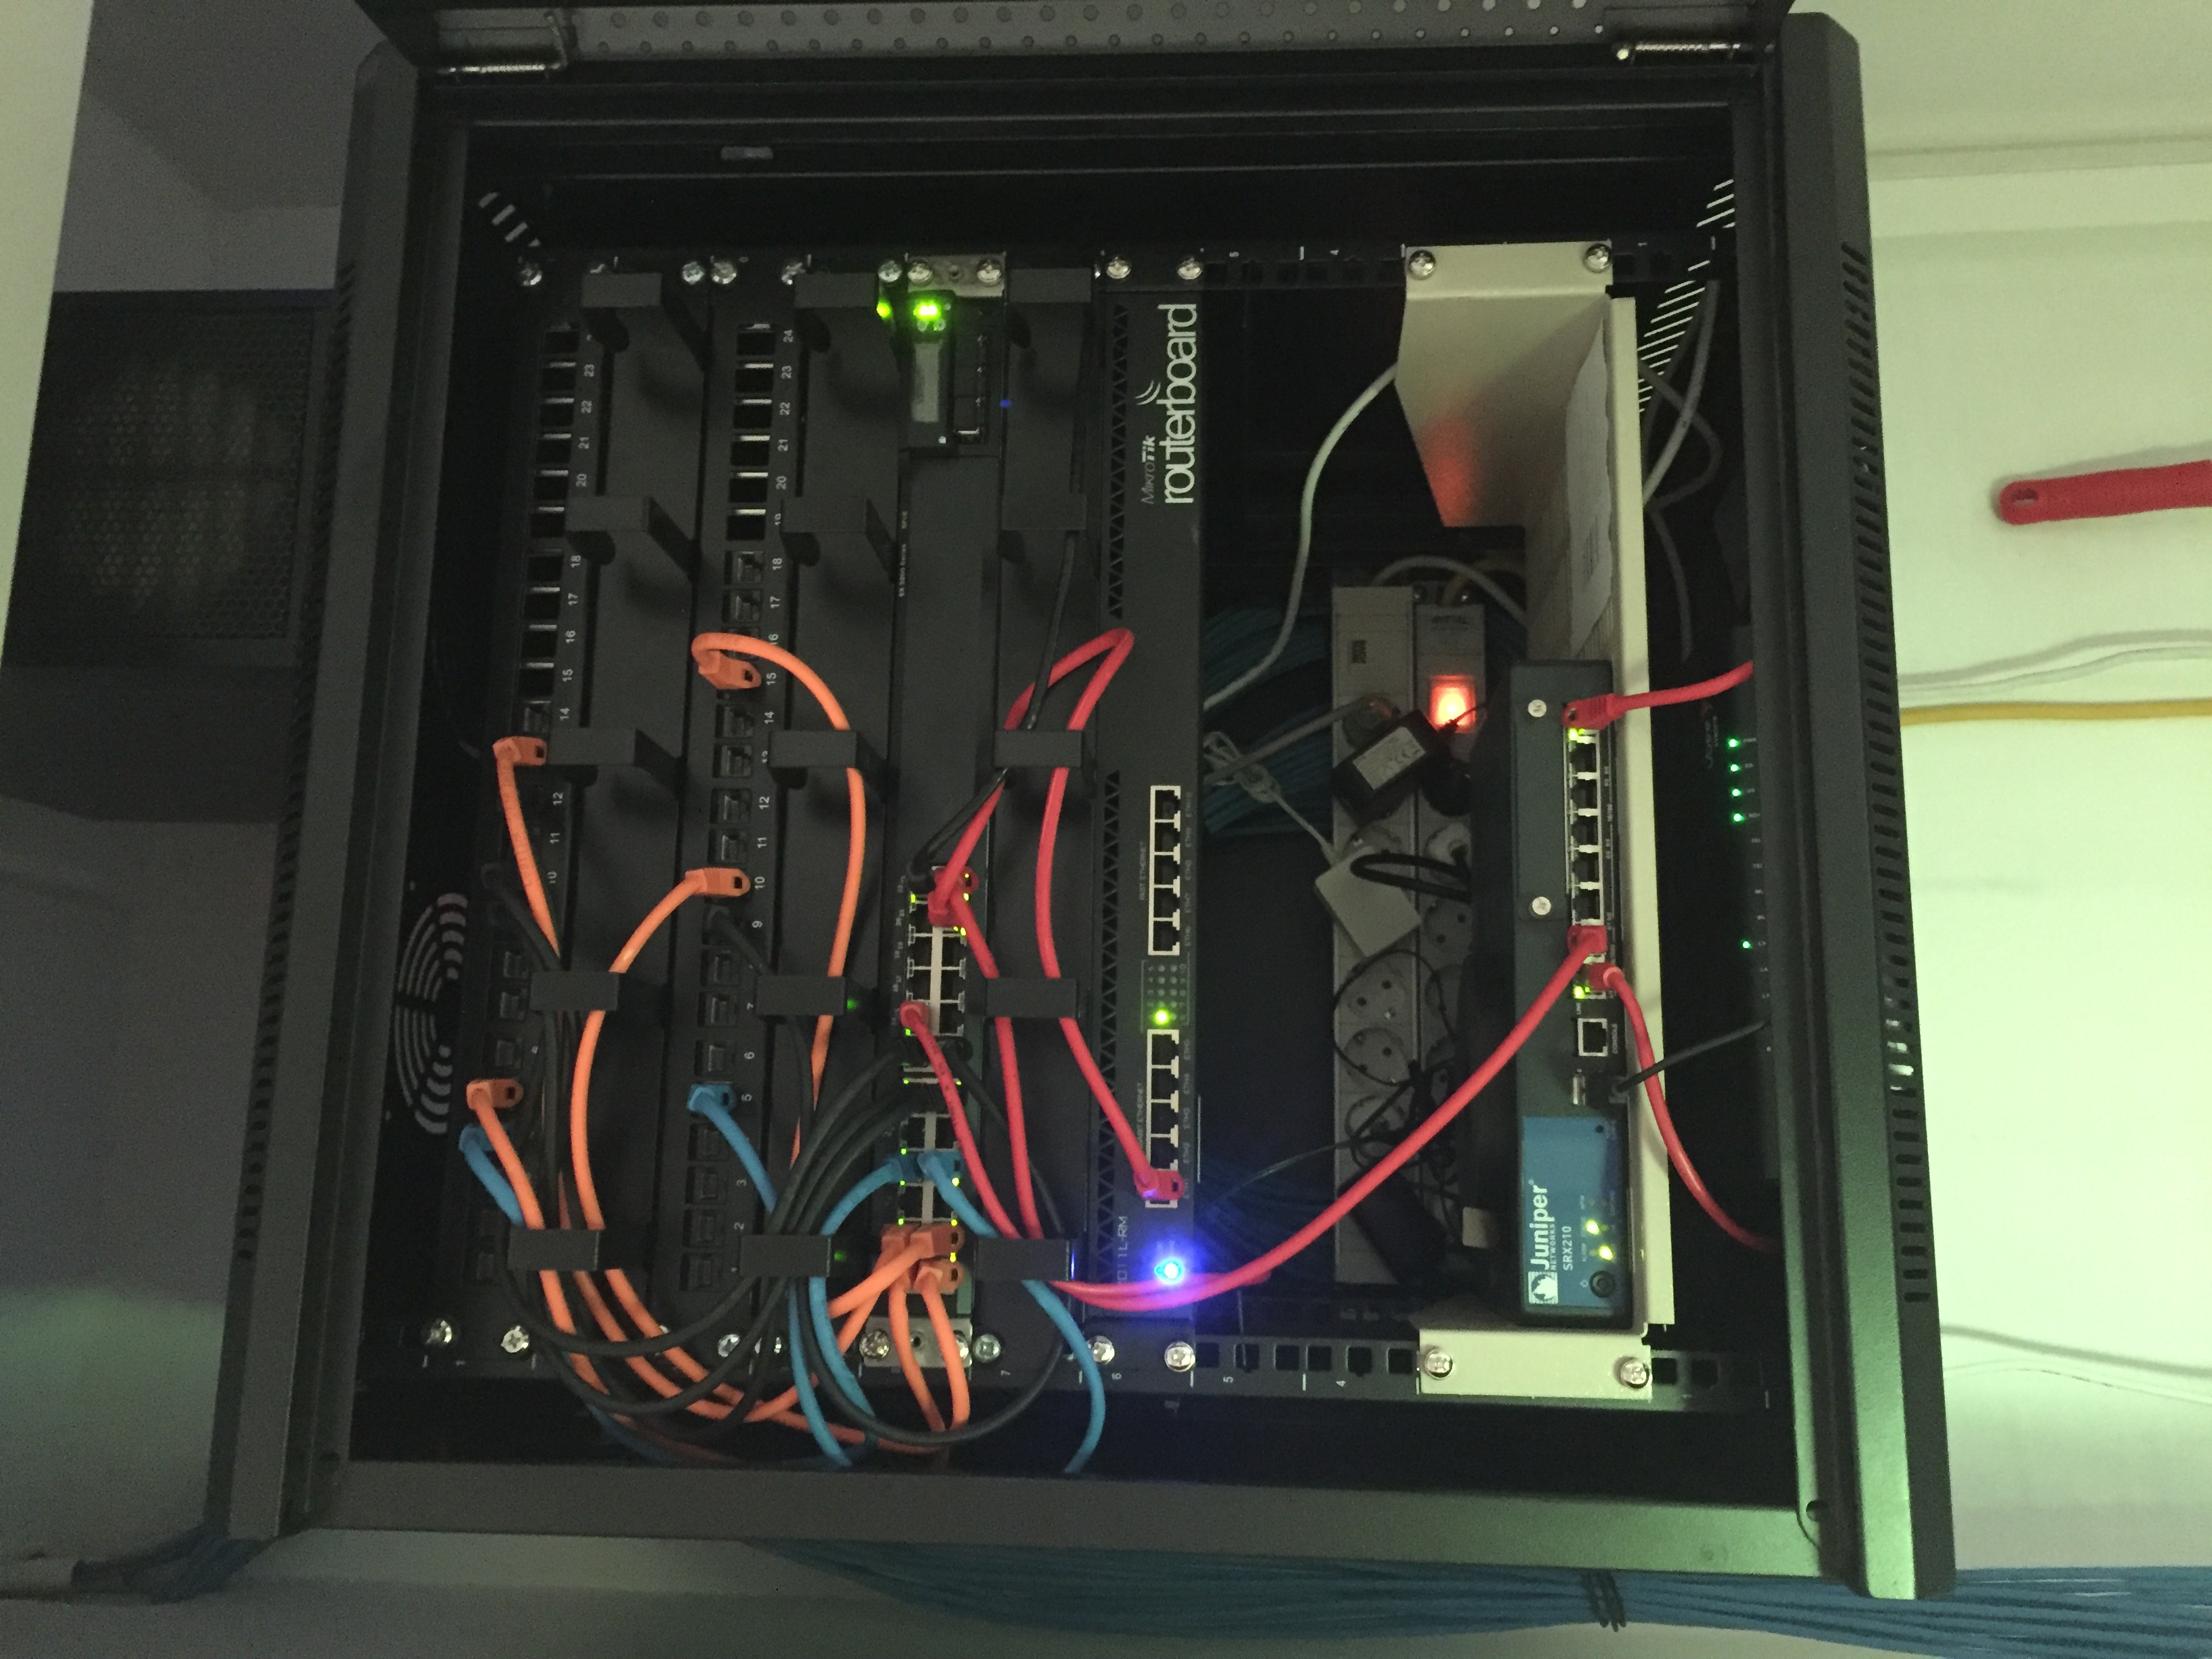
End result of the cabling job in the central patch rack.